|
A few thoughts on Blueberry Pie…
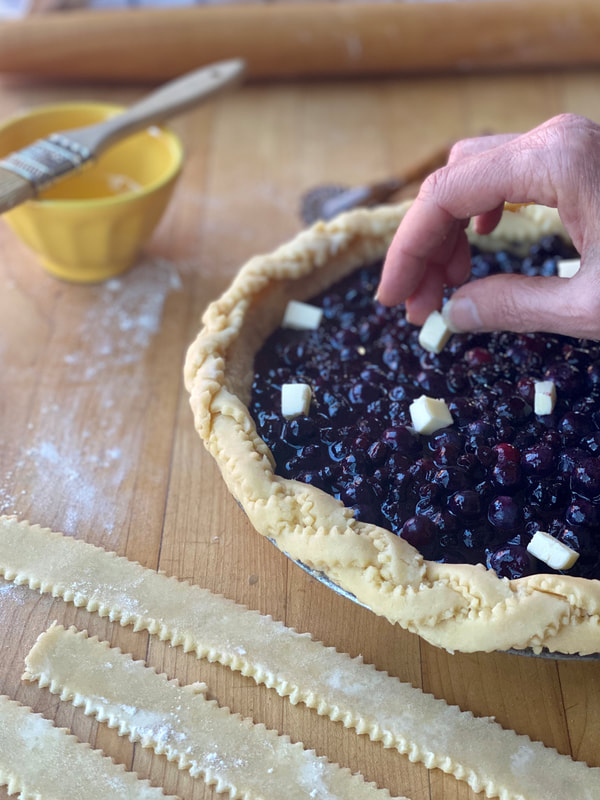
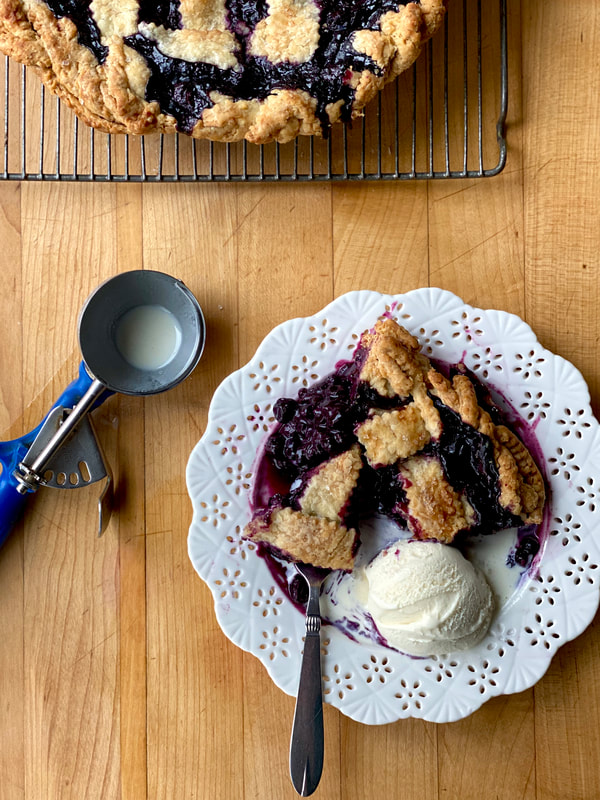
Frozen blueberries encourage us to bake blueberry pie year round. When shopping for frozen berries, I prefer wild blueberries, if available. Fresh blueberries out of season tend to be mouth-puckering tart, not necessarily in a good way. Taste the berries- Sweet? Tart? Scary? Fresh berries out of season combined with their frozen counterparts bake up into a filling with better flavor and a little more textural interest. It’s worth the extra step to par-bake the bottom pie crust before filling. This is something you can do the night before or first thing in the morning, and it certainly makes a difference in the finished product. Additionally, the top crust can be prepared in advance, rolled out on a sheet of parchment paper, covered in plastic wrap and refrigerated overnight. I aim for a generous 6 cups of blueberries, total, trying to combine some fresh with frozen, if possible. I take half of the berries (3 cups) (preferably the frozen ones), and combine them with the sugar, spices, and thickener called for in the recipe. Cooking the fruit over medium/low heat, stirring them gently to prevent scorching, eliminates some of the excess moisture and concentrates the flavor. Once the sweetened berries have thickened, remove them from the heat, add your preferred zest and juice, and optional extract. (Some bakers add the slightest hint of almond extract, others choose vanilla.) Small adjustments enhance the flavor of the filling without overpowering it, so go easy. You're looking to capture the flavor of blueberries, not spices, not extracts. Add the remaining berries (preferably the fresh ones) to the cooked filling and let the filling cool completely. When you are ready to assemble the pie, taste the filling and see if you’re happy with the spice/citrus level. If the filling tastes flat or lackluster, a tablespoon or two of good quality preserves can elevate the flavor. Ideally, you want to add wild blueberry jam, but in a pinch, you can add blackberry or black currant or even (desperate times) a berry blend. Brush the par-baked/cooled bottom crust with a thin layer of egg wash and retrieve the top crust from the refrigerator. Brush the edge of the bottom crust with a thin application of egg wash. Pour the cooled filling into the pie crust, reserving 4 tablespoons of liquid. (I find that helps prevent a soupy filling.) Add the top crust, carefully sealing the top to the bottom, fluting the edge with your fingers. Egg wash the top crust as well, sprinkle with coarse sanding sugar (if you have some) or a little Sugar in the Raw or even a light dusting of granulated sugar. Place the assembled pie in the freezer for 30 minutes to set the crust. (It seems like overkill, but it’s not.) Preheat the oven to 400 degrees F and place a sheet of parchment paper on a baking sheet to catch the indelible drips. Set the chilled pie on the baking sheet and bake on the bottom rack of the oven for 20 minutes; this helps finish baking the bottom crust. After 20 minutes, reduce the oven temperature to 375 degrees F, and move the pie to the middle rack. Continue baking for an additional 40 minutes, covering the edges of the pie with strips of aluminum foil if they are getting overly dark. Every oven is different, but the pie really needs a good hour plus in order to bake thoroughly. The pie should bubble around the edges and from the center before you remove it from the oven. If it’s not bubbling but looks perfectly golden, turn the heat down to 350 degrees F and give it another 8-10 minutes. Look for serious bubbling before you call it finished. Blueberry pie needs plenty of time to cool before slicing or you risk serving blueberry soup. Starting the pie early in the day gives you plenty of time for the pie to pull itself together. If not, it's best to serve it the following day. (Think breakfast.) A pie can sit on the counter overnight, covered with aluminum foil, a cake dome, or plastic wrap. To avoid a soggy crust, make sure the pie has cooled before you cover it. (Comb through the Recipe Index for pie crust inspiration) One 9” pie crust, par-baked and cooled One single recipe pie crust for lattice top For the filling- 6 cups of blueberries (3 pints fresh, rinsed/picked over for stems, OR 36 ounces of frozen should yield 6 cups, OR use a combination of fresh and frozen to yield 6 cups) ½ cup granulated sugar ¼ cup brown sugar 1 teaspoon lemon zest ½ teaspoon cinnamon pinch of salt 3 tablespoons cornstarch or all-purpose flour (cornstarch yields a less runny filling) 1 tablespoon freshly squeezed lemon juice 1 tablespoon unsalted butter, cut into pieces egg wash made with 1 egg and 1 teaspoon water sanding sugar for sprinkling If using fresh berries, after rinsing and removing stems, lay them out on a clean towel to dry. Whisk together the sugars, cinnamon, salt and cornstarch or flour. Place 3 cups of the berries in a heavy bottomed pan with the sugar mixture, stirring to mix. Cook over medium heat until the fruit thickens, about 6-8 minutes, stirring frequently to prevent scorching. Pour the cooked berries into a large bowl, add the lemon zest, juice and the remaining berries. Stir to combine and set aside to cool completely. Prepare your top crust (I prefer to cut 1” strips for a lattice) and keep it chilled in the refrigerator. Place the par-baked bottom crust on a parchment lined baking sheet. Brush the bottom crust and the top edge of the crust with a thin coating of egg wash. (Taste the filling- if it tastes a little flat, adjust with a little extra zest or some jam; don’t be tempted to over sweeten. I always reserve 4 tablespoons of the liquid in the berries and set it aside; it helps prevent some of the ‘soupiness’ of the filling; you can cook this down a little bit and pour it over yogurt or ice cream.) Pour the cooled berry mixture into the pie shell and dot with butter. Place lattice strips on top of the filling; weaving them looks lovely but you can simply lay half of the strips horizontally and the other half vertically and they will bake up just fine. Because the bottom crust has been par-baked it might be a little fragile. Carefully attach the top to the bottom, rolling the top crust under to form an edge; crimp the edge with your fingers or gently press together using a fork. Make sure the top and bottom crusts are sealed so the filling doesn’t sneak out of the sides. Brush the top crust with egg wash and sprinkle with sanding sugar. Place the pie in the freezer for 30 minutes before baking. Preheat the oven to 400 degrees F. Place the pie on the parchment lined baking sheet. Bake the pie on the bottom rack of the oven at 400 degrees F for 20 minutes. Reduce the oven temperature to 375 degrees F and move the pie to the middle rack. Continue baking for an additional 40 minutes, covering the edges of the pie with strips of aluminum foil if they are getting overly dark. Every oven is different, but the pie really needs a good hour plus in order to bake thoroughly. The pie should bubble around the edges and from the center before you remove it from the oven. If it’s not bubbling but looks perfectly golden, turn the heat down to 350 degrees F and give it another 8-10 minutes. Let the pie cool completely before slicing, so the juices have time to thicken; at least 4 hours, preferably more. Any leftovers should be covered (a large inverted bowl works well) and can sit at room temperature for up to two days. Beyond that, cover with plastic wrap and refrigerate.
0 Comments
Leave a Reply. |
Archives
July 2024
|


 RSS Feed