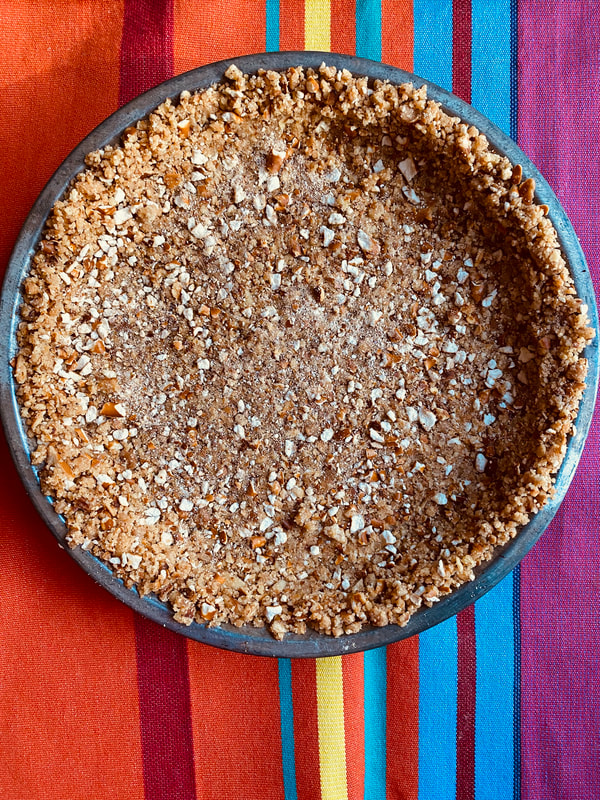
 makes enough for one 9” pie
4 cups (6 ounces) pretzels (I use mini twists) ½ cup (2 ounces) of pecans OR walnuts, toasted 2 tablespoons packed brown sugar* 7- 8 tablespoons unsalted butter, melted Spritz your pie plate with a little non-stick vegetable oil spray. Pulse the pretzels in the food processor until finely ground (not like sawdust; leave a little bit of texture) or place them in a sealable plastic bag and crush them with a rolling pin. Transfer the pretzels to a medium mixing bowl. Pulse the toasted pecans or walnuts in the food processor until fine; add to the pretzel crumbs. Add the brown sugar to the crumb mixture and toss to combine; reserve one tablespoon of the melted butter. Add 7 tablespoons of melted butter to the mixture and mix thoroughly; it should feel like wet sand. If it feels too dry, add the reserved tablespoon of melted butter. Transfer the crumbs to your pie plate and use your fingers to pat the mixture evenly around the sides and across the bottom of the pie plate. Place the filled pie plate in the freezer to firm up for 10 minutes. Heat your oven to 325 degrees. Place the pie plate on a baking sheet and bake on the middle rack of the oven for 8-10 minutes, just long enough to set the crust. Let the pie crust cool completely before filling. *Note: I prefer to keep this on the salty side but you can certainly adjust by adding one or even two more tablespoon(s) of brown sugar.
0 Comments
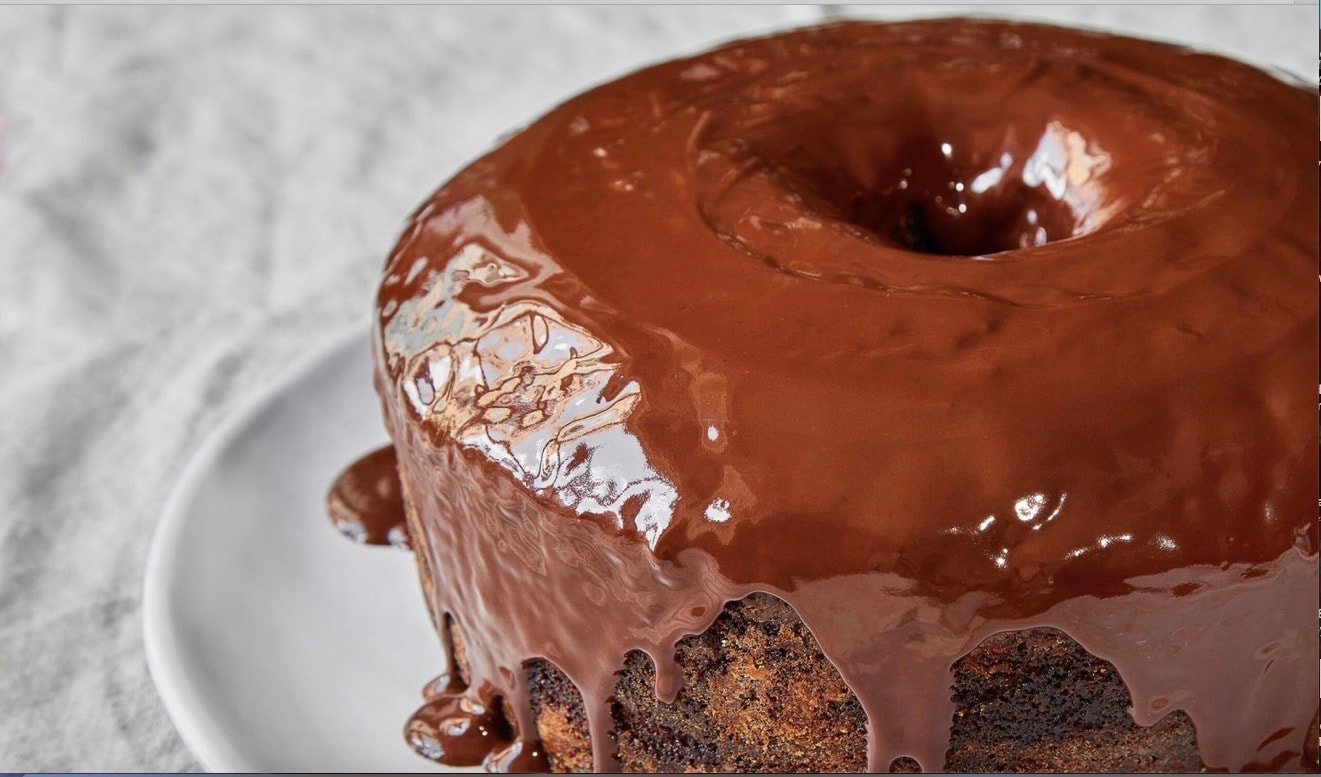 serves 16
For the honey cake layer:
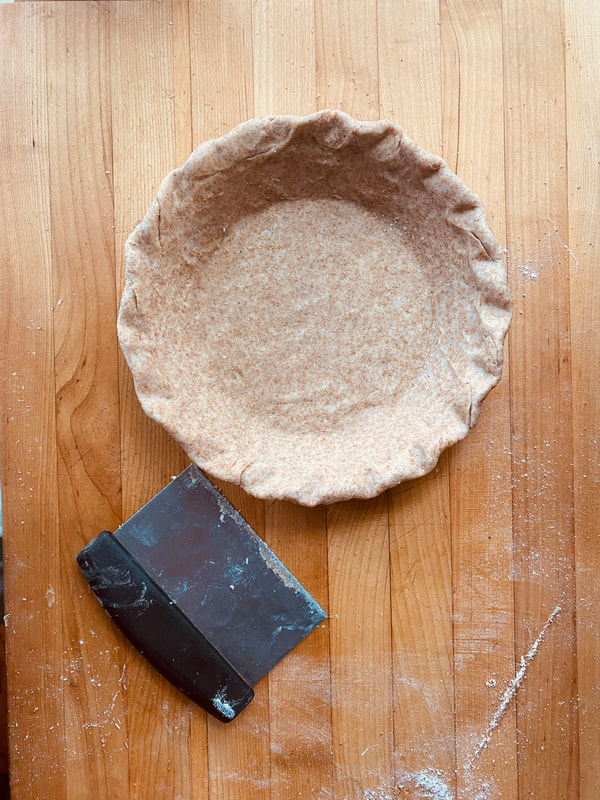 Whole Wheat Pastry Dough- my go-to for hand pies (Also good for a double crust 9" pie)
4 ½ ounces all-purpose flour 4 ½ ounces whole wheat flour plus more for rolling out 2 teaspoons sugar ½ teaspoon kosher salt 6 ounces unsalted butter, cold cut into ½” pieces ½ cup cold water + 1 teas. apple cider vinegar In a large bowl whisk together the all-purpose flour, whole wheat flour, sugar, salt, and herbs. Add the cold butter pieces, flattening them with your fingers and coating them with the flour mixture. Gradually add the cold water/vinegar and toss the flour/butter mixture together until it just comes together. Don’t over mix. Turn the dough out onto a lightly floured work surface. Dust your hands with flour and lightly shape the dough into a smooth disc. Take care not to over work the dough; divide the dough in half, shape each half into a disc, wrap in plastic wrap and refrigerate for one hour. When ready to roll out the dough, lightly flour your work surface with additional flour. For hand pies, roll the dough about ⅛” thick. (This dough is equally suitable for full sized pies and the recipe will yield enough for two single 9” crusts or one double crust pie.) 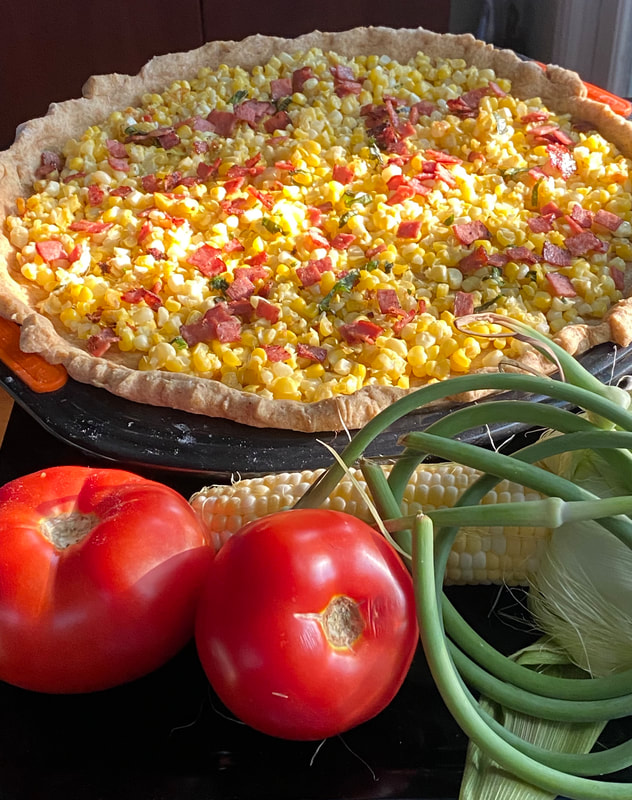 This makes enough dough for two large pizzas, approx. 12" in diameter. (You can bake the pizza on a baking sheet, pizza stone or if you are lucky enough to own one, the perforated pizza pan from Le Creuset.) 1 tsp active dry yeast 1½ cups water, between 105° F and 110° F 1½ cups all-purpose flour 1 cup bread flour 1 cup whole wheat flour ½ cup cornmeal 1 Tab. sugar 2 tsp. kosher salt ½ cup olive oil Combine yeast and water in a Pyrex measuring cup or small bowl. Let the mixture sit for a few minutes until it dissolves and gets foamy. Place the flours, cornmeal, sugar and salt in the bowl of a stand mixer. Mix to blend. Add the yeast mixture to the flour and with the mixer on low, mix briefly (on and off several times) to prevent flying flour. Then continue mixing on low speed until the dough starts to look shaggy. Drizzle in the olive oil. Continue to mix the dough on low speed for an additional 4 to 5 minutes. The dough should be smooth and elastic; if it seems a touch dry, add an additional tablespoon of water and mix to incorporate. Turn the dough out on to a lightly floured work surface and knead until smooth, about 5 minutes. Oil a large bowl. Transfer the dough to the bowl, cover with oiled plastic wrap and place in a warm, draft-free place to rise for 2-3 hours, until the dough is about double in bulk. (Alternatively, refrigerate the dough until doubled, about 12 hours; return to room temperature before using). Punch down the dough and divide it in half. (One half can be placed in a large Ziploc bag and frozen for future use.) Roll out dough on a lightly floured work surface. Transfer to your pan of choice, add well drained toppings and bake in a pre-heated 400 degree oven until crust is deeply golden and cheese (if using) is melted. 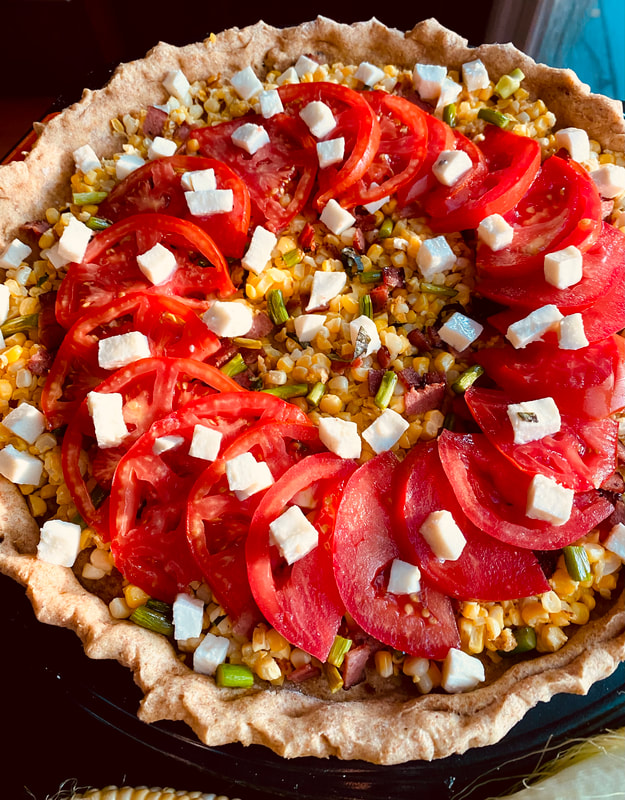 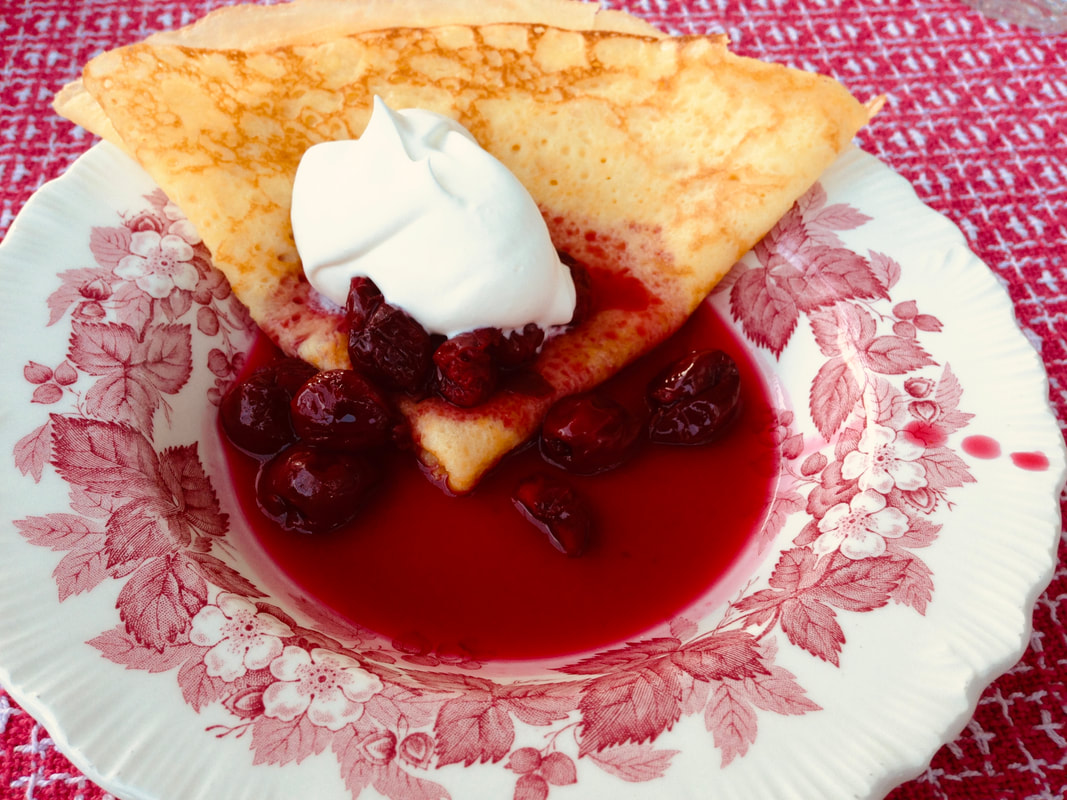 serves 6 Crepes- 3 large eggs + 1 egg yolk 1/4 cup granulated sugar 2 &1/2 cups all-purpose flour 1/2 teaspoon salt 2 cups half & half 8 oz. unsalted butter, melted, cooled (approx. 2 tablespoons water) In a large mixing bowl, whisk together the eggs, egg yolk, sugar, flour and salt. Gradually add the half & half, whisking until smooth. Gradually whisk in the cooled/melted butter; if batter is overly thick, add up to 2 tablespoons of water. Cover and refrigerate the crepe batter for at least one hour. Heat a lightly oiled crepe pan or frying pan over medium high heat. Ladle approximately 1/4 cup of batter Into the hot pan. Tilt the pan In a circular motion so the batter coats the pan evenly. Cook the crepe for 2-3 minutes, until the bottom of the crepe is light brown. Loosen with a spatula, flip the crepe and cook the other side just until golden, about 1 minute more. Sour Cherries- 7 cups pitted sour cherries 1/2 cup granulated sugar 1/4 cup dark brown sugar pinch of salt zest of one orange slurry made of 1 and 1/2 tablespoons cornstarch combined with 1 and 1/2 tablespoons cold water or cherry juice Freshly whipped cream, to garnish In a large non-aluminum stockpot, combine cherries and sugar; bring to a rolling boil, stir, and reduce heat to simmer. Allow mixture to simmer until sugars are completely dissolved and the mixture begins to thicken. Stir in the slurry and cook for several minutes until thickened. Add the orange zest. Taste for desired sweetness; add an additional tablespoon of granulated sugar if you wish. Cool slightly before serving over crepes. Freshly whipped cream makes a fine garnish. Cover and refrigerate any leftovers. 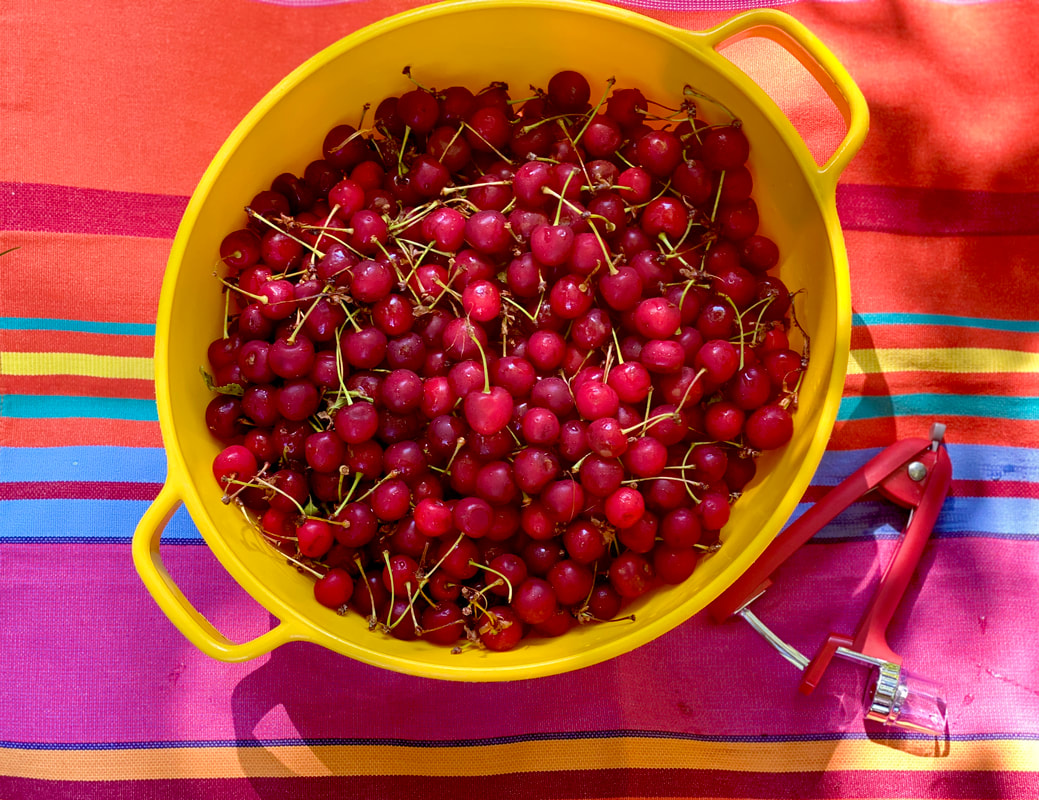 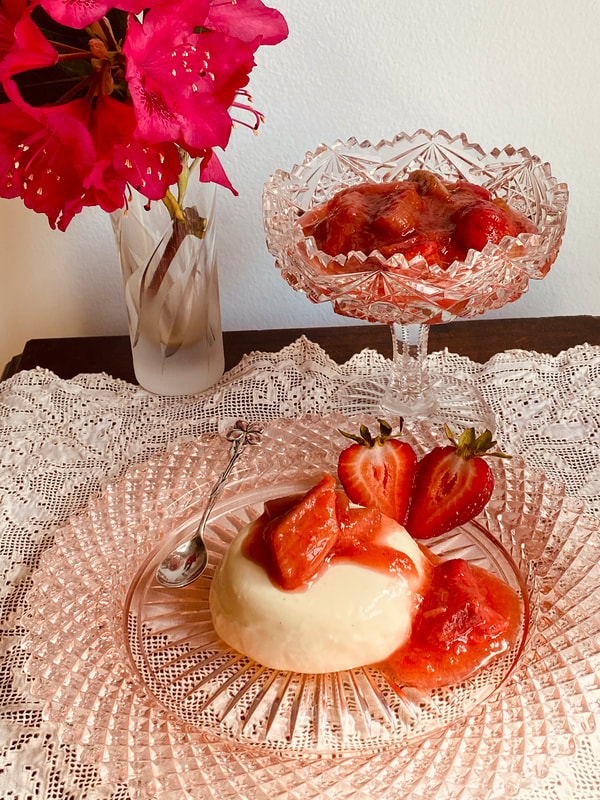 Makes 6 servings
3 cups heavy cream 3/4 cup sugar pinch of salt seeds from 1 vanilla bean 3 sheets gelatin*, softened In cold water then drained 1/2 cup sour cream 2 teaspoons lemon zest * gelatin sheets measure 2.5" x 9" Heat cream, sugar, vanilla bean seeds and salt in a saucepan over medium heat just until simmering; do not boil. Remove from the heat and add the drained/ softened gelatin; stir into cream mixture until dissolved. Add lemon zest. Cool for 5 minutes then slowly whisk in the sour cream. Strain. Divide mixture between 6 ramekins (or custard cups) and refrigerate until set, 3 hours; cover with plastic wrap, and keep refrigerated until ready to serve. Remove plastic and turn out onto dessert plates (or eat directly from the ramekin; I won't judge you). Best served with a fruit compote, preferably rhubarb/strawberry. 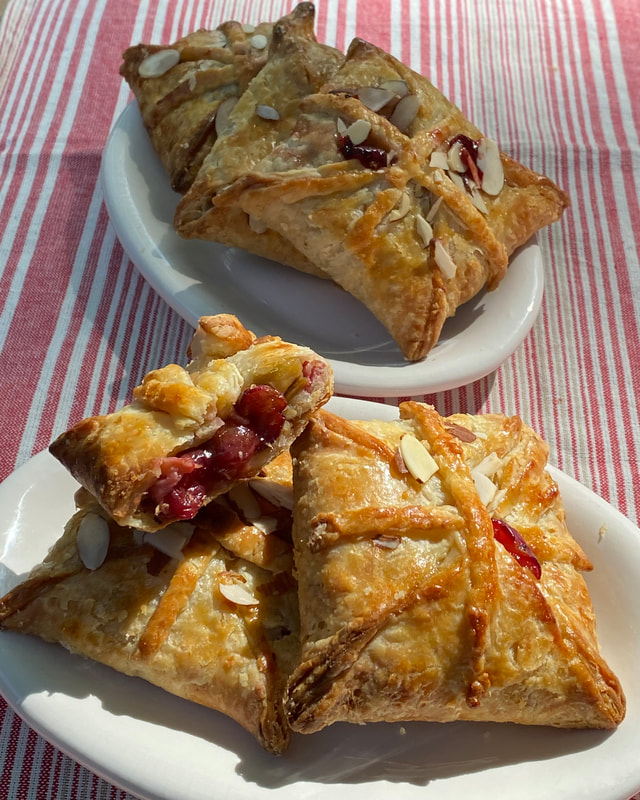 Makes 9 For the dough: 1½ cups all-purpose flour ½ cup whole wheat pastry flour 1 teaspoon sugar ½ teaspoon salt 6 ounces cold, unsalted butter, cut in ½” pieces 4 ounces cold cream cheese, cut in ½” pieces 1 egg yolk, lightly beaten 3 tablespoons ice water In the bowl of a standing mixer fitted with the paddle attachment, place the all-purpose and pastry flour, sugar, and salt. Mix on low briefly to combine. Add the cold butter pieces and the cream cheese pieces and mix on low until the butter is coated with flour and is the size of small peas. In a small bowl, whisk together the egg yolk and ice water. Gradually add to the flour/butter/cream cheese mixture, mixing on low just until the dough is shaggy and holds together when pinched. Transfer the dough to a lightly floured sheet of parchment, flour your hands and shape the dough into a rectangle (if you are cutting squares) or a circle (if you are cutting circles). Wrap the dough in plastic wrap and refrigerate several hours or preferably overnight, before rolling out. For the frangipane: (makes about 2 cups) ⅔ cup almonds ½ cup unsalted butter, at room temperature ½ cup sugar 2 large eggs, at room temperature 1 tablespoon plus 1 teaspoon all-purpose flour ¼ teaspoon vanilla extract pinch of kosher salt Taking care not to turn the almonds into paste, grind the almonds in a food processor fitted with a blade attachment until fine. In the bowl of a standing mixer fitted with the paddle attachment, beat the butter and sugar on medium speed until light; about 2 minutes. Add the ground almonds and beat on medium for an additional minute. Scrape down the sides and the bottom of the bowl. Turn the mixer to low and beat in the eggs then add the flour, vanilla, and salt. Mix until combined and spreadable. Place in an airtight container and refrigerate until ready to use. Frangipane can be stored in the fridge for up to 1 week or frozen for up to 1 month. Before using, remove from the refrigerator and let the frangipane soften until spreadable. (Any leftover frangipane can be spread on 1” thick slices of bread and baked in a 375 degree F oven until golden, about 10-12 minutes. Serve with fresh fruit or jam.) Prepare the fruit: 1½ cups tart cherries, rinsed, stemmed, pitted 1½ cups rhubarb, rinsed, leaves removed, cut into ½” pieces (approx. ½ pound) ⅓ cup brown sugar 1 tablespoon cornstarch ½ teaspoon orange zest pinch of salt In a medium bowl, whisk together the brown sugar, cornstarch, orange zest, and salt. Add the cherries and rhubarb and turn to coat thoroughly with the sugar mixture. Set aside. For the egg wash: Beat together one egg with one tablespoon of milk in a small bowl. (If sprinkling with almonds, place ½ cup slivered almonds in a small bowl.) To Assemble the Turnovers: On a lightly floured sheet of parchment paper, roll out the dough to a 16” square. Use a sharp knife to cut the dough in nine 5” squares. Spread the frangipane on each square to within ½“ of the edge. Place 2 tablespoons of fruit filling in the center of each pastry square. Brush the edges with egg wash then join the four corners together to meet in the middle and pinch the seams together to seal. Transfer the turnovers (still on the parchment) to a baking sheet, drape with plastic wrap and refrigerate for 30 minutes. When ready to bake, heat the oven to 400 degrees F. Retrieve the turnovers from the fridge, brush with egg wash, sprinkle with almonds (if using) and use a sharp knife to cut a few small slits in the top to allow steam to escape. Bake on the middle rack of the oven for 10 minutes, then rotate the tray and bake for an additional 8-10 minutes longer, or until the turners are golden and bubbling. Cool on a rack before serving. 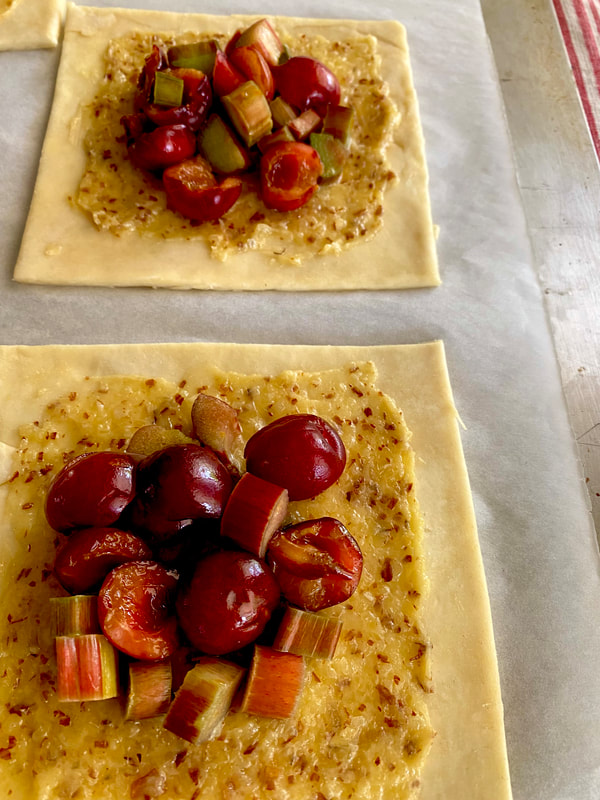 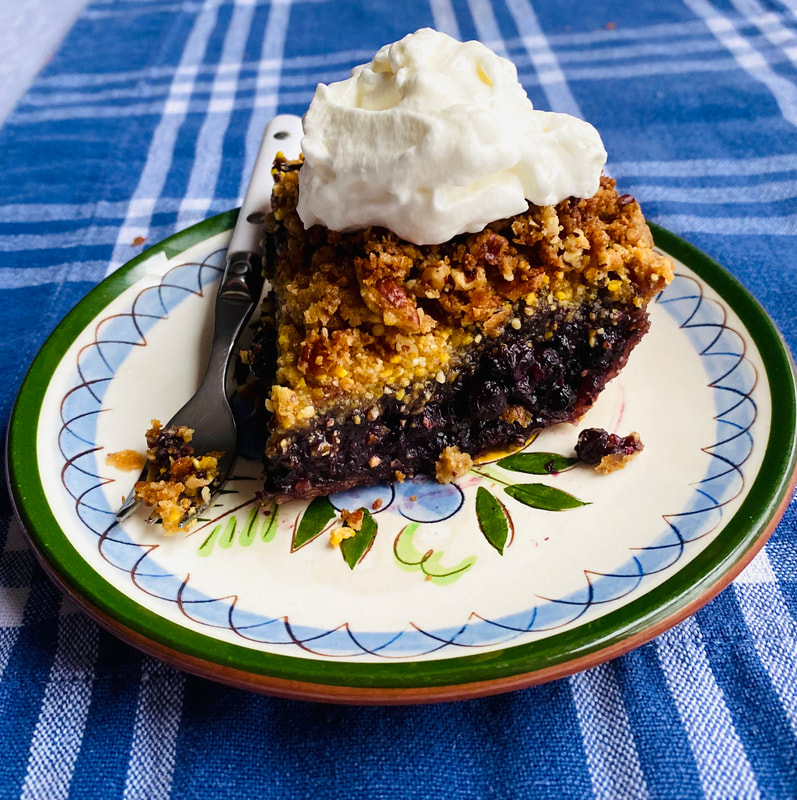 For the crumb- (makes about 2 cups)
1/2 cup brown sugar 1 teaspoon lemon zest 1/2 teaspoon cinnamon 1/2 cup all-purpose flour 1/4 cup cornmeal 1/2 cup hazelnuts or pecans (or a combo) 1/2 teaspoon salt 6 tablespoons cold butter, cut Into pieces Whisk together the sugar, lemon, cinnamon, flour, cornmeal, nuts and salt. Add the butter, blending with your fingertips or a fork until the mixture resembles coarse crumbs. Chill until ready to assemble your pie. For the pie- 1- nine inch pie shell, par-baked (check recipe index for classic pie pastry recipe) 1 & 1/2 pounds wild blueberries 3 tablespoons cornstarch pinch kosher salt 1/2 cup maple syrup juice and zest of 1 small lemon Preheat the oven to 400 degrees F. Place blueberries in a large bowl. In a small bowl, whisk together cornstarch, salt, maple syrup and lemon juice/zest. Pour the cornstarch mixture over the blueberries, coating the blueberries with the mixture. Scrape the filling into the par-baked pie shell, top with the cold crumb and place the pie on a parchment lined baking sheet. Bake for 15 minutes, reduce oven temp to 375 degrees. Bake an additional 40-50 minutes, covering the top of the pie with a sheet of parchment about halfway through. The pie should bubble around the edges and the crumb should be deeply golden when it's ready. Transfer to a rack to cool, about 3 hours, before slicing. (You can slice sooner but the slices will be more spoon-able than fork-able.) 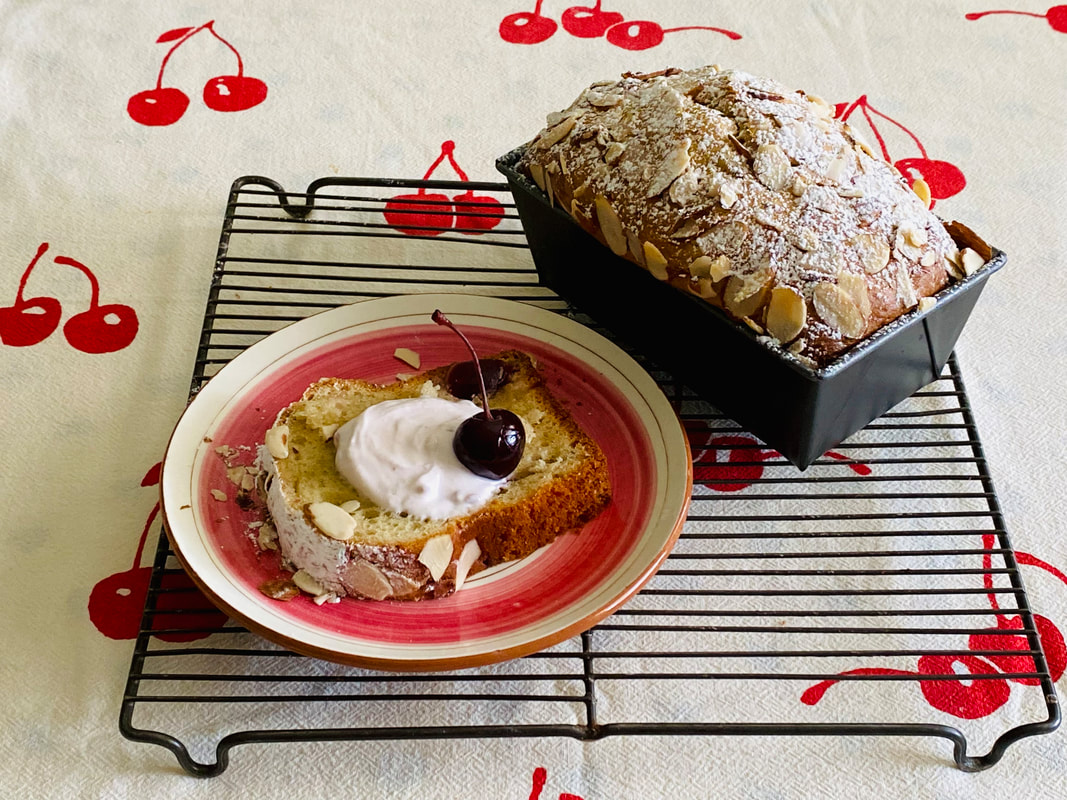 from Dominique Ansel
Ingredients: 2- 4.4 oz. containers Icelandic Provisions Cherry & Almond Skyr 150 g. sugar 64 g. oil 3 large eggs 1 tsp. vanilla extract 1 tsp. salt 250 g. all-purpose flour ½ tsp. baking soda 15-20 whole Amarena cherries (you can substitute fresh cherries, pitted) ½ cup sliced almonds Equipment: 2 small loaf pans (5” l x 3”w x 2”h) Rubber spatula Mixing bowl Method: 1. Preheat oven to 325° F 2. In a mixing bowl, combine the skyr, sugar, oil, eggs, vanilla extract, and salt with a spatula. Mix until smooth. 3. Add the flour and baking soda, stirring until just combined. Be careful not to over mix. 4. Butter your loaf pans. Fill both pans halfway up with batter. Divide cherries and scatter the cherries on top of the batter in both pans. Top off with remaining batter until each pan is ¾ full (do not fill to the top, as the cakes will rise in the oven). Sprinkle the tops with a handful of almonds. 5. Bake for 30-35 minutes*, or until a paring knife/cake tester comes out clean and the surface is golden. Let cool for 5-10 minutes before unmolding. Slice and enjoy! Best enjoyed fresh-baked day of. You can also store in an air-tight container and enjoy next day. *my bake time was closer to 40 minutes in a conventional oven. 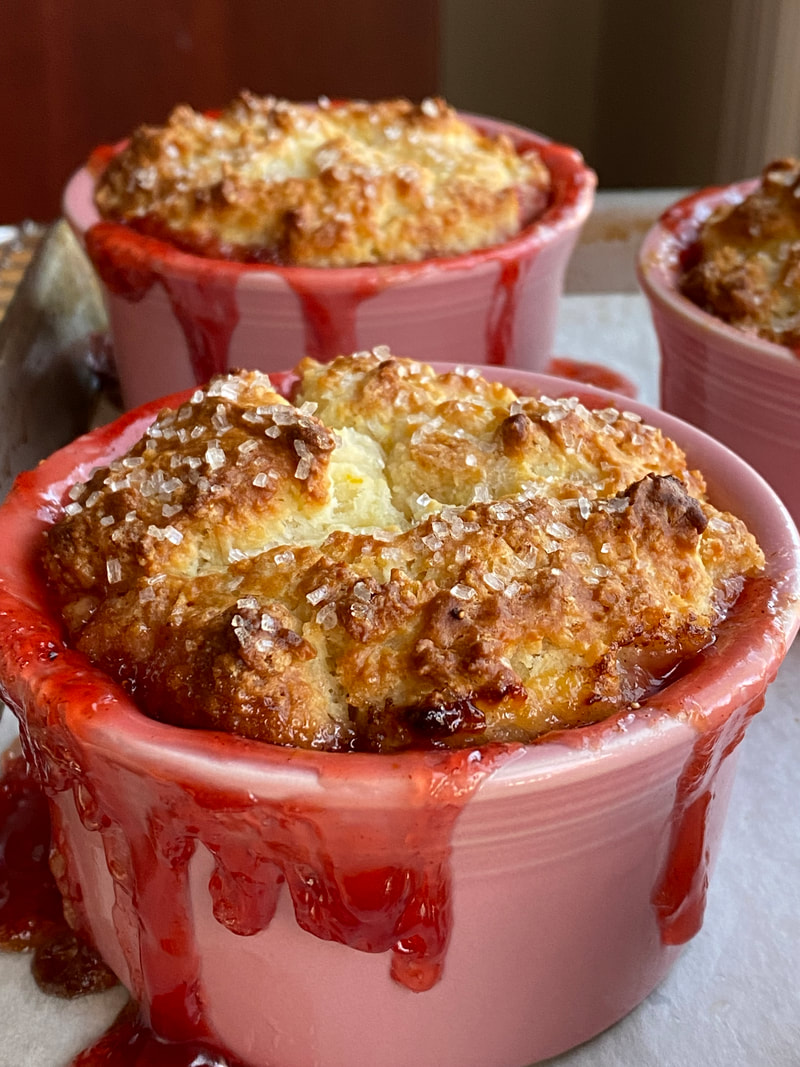 (adapted from Carla Snyder) makes 4 servings Lightly butter 4 six-oz. ramekins. Preheat the oven to 400° F. For the filling- 6 oz. fresh or frozen rhubarb (if frozen, lay the rhubarb out on a double thickness of paper towels and blot off excess ice crystals; if fresh, rinse, remove leaves, and dice) 1½ cups fresh strawberries, quartered ½ cup granulated sugar ¼ cup firmly packed brown sugar zest from 1 Meyer lemon 2 tablespoons cornstarch pinch of kosher salt 2 teaspoons Meyer lemon juice In a large bowl, combine the granulated and brown sugars; add the lemon zest, rubbing it in with your fingers until fragrant. Whisk in the cornstarch, salt, and Meyer lemon juice. Add the rhubarb and strawberries; toss to coat until thoroughly combined with the sugar mixture. Set aside. For the biscuits- 1 cup all-purpose flour 1½ teaspoons baking powder 1½ tablespoons granulated sugar zest from 1 Meyer lemon ⅛ teaspoon kosher salt ¼ cup cold, unsalted butter, cut into small pieces ⅓ cup buttermilk 2 tablespoons of beaten egg (this is ½ of a large egg, beaten- I refrigerate the leftovers to use as egg wash) coarse sanding sugar for sprinkling In a large bowl, whisk together the flour, baking powder, sugar, lemon zest, and salt. Add the butter pieces. Toss the butter with the flour mixture then rub the butter pieces into the dry ingredients until no large pieces of butter remain. In a small bowl, whisk together the buttermilk and the 2 tablespoons of beaten egg. Gradually add the buttermilk/egg mixture to the butter/flour mixture, tossing it with a fork just until the dough barely holds together, taking care not to over mix. To assemble- Divide the strawberry/rhubarb mixture evenly between the four ramekins. Dollop spoonfuls of the biscuit dough evenly over the fruit. Sprinkle the tops of the biscuits with coarse sanding sugar. Transfer the ramekins to a parchment lined baking sheet. Bake on the middle rack of the preheated 400° F oven for 25-30 minutes, or until the fruit bubbles around the edges of the ramekins and the biscuits are deeply golden. Transfer the baking sheet to a cooling rack. Let the cobblers cool slightly before serving. If serving for breakfast, top with dollops of yogurt; for dessert, serve with lightly sweetened whipped cream. Cover and refrigerate any leftovers. (Note: Recipe can be doubled and baked in a 2-qt. baking dish) 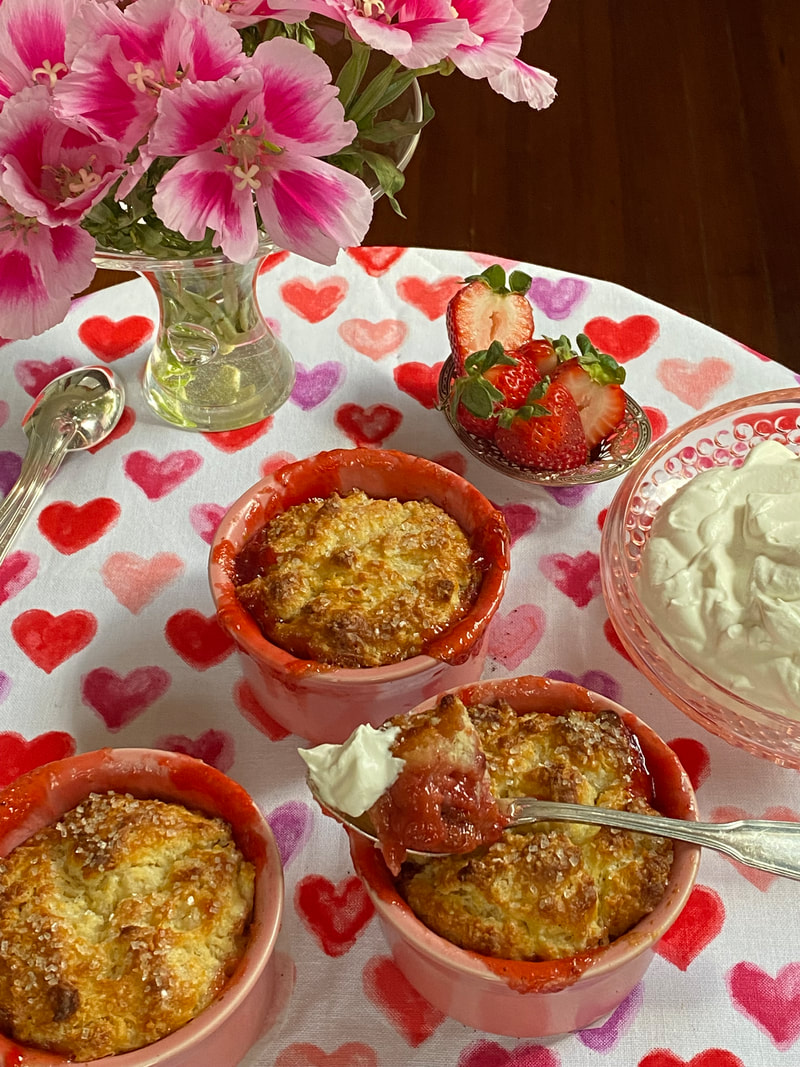 |
Archives
February 2024
|
 RSS Feed